So one of the side projects that I created were my "To-do" jars.
In the "swag list" jar I have a bunch of pieces of paper with little tasks on them that Kev and I have no desire to do. I pick one out every week or two weeks and it's a task that we HAVE to complete in that time frame. It forces us to complete tasks that we would otherwise not be interested in.
In the "craft" jar I have a bunch of crafts that I want to complete for the house. With the overwhelming number of things that you can find to do on Pinterest it's incredibly useful. I'll post a few of the crafts I've completed so far in a few posts, I have a lot of Christmas crafts so I hope you guys are excited for some holiday decorating!
Wednesday, November 7, 2012
Thursday, October 25, 2012
Command Center Desk Creation!
So I wanted to show a before and after picture of the desks from the command center.
This is what they looked like before:
I removed all of the old molding and refinished the fronts of it with new molding. I sanded, painted, and then added a couple coats of polyurethane. This is my first furniture project and I thought the results were fair.
Desks afterwards:
This is what they looked like before:
I removed all of the old molding and refinished the fronts of it with new molding. I sanded, painted, and then added a couple coats of polyurethane. This is my first furniture project and I thought the results were fair.
Desks afterwards:
Dining room transforms into Command Center
This is the closest thing to a "before" picture that I have of this room. Obviously, at this point we had painted, changed the light fixture, and removed the hideous carpet. Just picture some ten year old carpet covered in cat pee and an old 80's style wrap around desk floating in the middle.
This room connects to the kitchen (to the left) I am standing in the living room, and to the right their is a stairway down to the basement. You can actually see off to the right where the floor was saturated with cat pee and had started to warp.
So step one for this room (after painting) was replacing the carpet with a strand of bamboo that Kevin and I had picked out. We had already tiled the kitchen at this point so we knew that we had to make the bamboo even with the tile floor. We ended up needing to put down an extra layer of OSB board in order to make the floor even throughout the whole house. So the first thing that needed to be done in this room was to replace the sub-floor that had the "water" damage.
This was the removal, we just completely took out one 4x8 piece. We used an assortment of tools including a circular saw and a pry bar (It was a pain in the butt to do this). If you do need to replace sub-floor it is important to make sure the board you buy to replace the original is the same width. The next step was to put the replacement board down, which we did...
and...
So there we go, room 1! Almost/pretty much/mostly complete :)
Here are a few additional pictures:


This room connects to the kitchen (to the left) I am standing in the living room, and to the right their is a stairway down to the basement. You can actually see off to the right where the floor was saturated with cat pee and had started to warp.
So step one for this room (after painting) was replacing the carpet with a strand of bamboo that Kevin and I had picked out. We had already tiled the kitchen at this point so we knew that we had to make the bamboo even with the tile floor. We ended up needing to put down an extra layer of OSB board in order to make the floor even throughout the whole house. So the first thing that needed to be done in this room was to replace the sub-floor that had the "water" damage.
This was the removal, we just completely took out one 4x8 piece. We used an assortment of tools including a circular saw and a pry bar (It was a pain in the butt to do this). If you do need to replace sub-floor it is important to make sure the board you buy to replace the original is the same width. The next step was to put the replacement board down, which we did...
until we heard some meowing from underneath the board. We had to take the board back up and rescue one of our cats that thought it was the coolest place to hide. Then the board went back down and I took a picture of Kevin vacuuming because it doesn't happen very often.
After this step we had to put an additional layer of OSB board down throughout the whole room, I don't have a picture of that in this room. Once that layer was down the underlayment went down. We put a moisture barrier down first and taped it together then the foam went down that provides less squeaking of the bamboo plus some added softness when walking (or if cats are running across it).
Books is helping us out once again with the flooring in this room, testing out the underlayment
We started the bamboo in our living room which connects to the "Command Center." We ran the bamboo perpendicular to the support beams, which will reinforce it. Connecting the two rooms was a bit tricky, it was important to stay square...even if your walls are not square! It's also important to have a gap between the wall and the wood to allow for expansion... the manufacturer of your flooring will give an estimated distance they want you to use to allow for the expansion... one of the things to remember though is that you will need to put quarter-round around the edges to cover the distance. (We didn't remove our base molding). We bought a floor nailer from Harbor Freight and used it for the whole install, to use the model we bought you have to have a compressor, which we also purchased from H.F., we haven't had a complaint yet, I use the compressor at least once a week working on woodworking projects out in the garage. My advice is READ ALL THE DIRECTIONS! It's important to do what the manual says or it will stop working correctly.
We were happy to note that the transition from kitchen tile to bamboo was nearly perfect.
In this picture you can barely see the door frames, we used a friends advice and borrowed a biscuit cutter to get underneath the door frames so we could slide the bamboo seamlessly underneath and there would still be room for the wood to expand. I used a clear silicon to seal from the door frame to the bamboo afterwards.
This picture is when we were almost finished with the "Command Center":
It's a little dark, but you can see the boxes of bamboo, plus the nailer, plus the hose to the compressor. Kevin and I worked as a very good team, I would make all the cuts and he would line up the nailer. It went fairly quick, but slower then we anticipated (as most projects do!)
I finally had a girlfriend come over and take some finish pictures last week!
Here is the nearly (I'll always work on decor!) finished product:
I finally had a girlfriend come over and take some finish pictures last week!
Here is the nearly (I'll always work on decor!) finished product:
So there we go, room 1! Almost/pretty much/mostly complete :)
Here are a few additional pictures:
Friday, March 30, 2012
In the beginning there was a house.
This is going to be a blog about my home renovation.
I moved into my boyfriends house around August 2011. The house was built around 1996-1999, so it is/was not terribly old or in terrible shape; it is/was just desperately in need of some updating and t.l.c. It consists of three levels, four bedrooms, three and a half baths, a "finished" basement, general living, and a "two" car garage (at our last calculation it is around 2300sqft-ish). It currently houses me, my boyfriend, and five cats (yes I said five). So needless to say we have a lot of room and not all that much to do with it, which got my creative wheels turning!(At this point it is important to note that this is not our dream home and we don't plan on living in this house forever. Therefore a lot of renovation ideas are double edged. i.e. we love this...will other people love this? And how the heck are we supposed to know.)
My boyfriend, Kevin, moved into the house around three years before me. He managed to put some curtains up and had a heavy bag in the basement, and four cats. I have had a pretty much blank canvas to work with for my very first home design. It's not as easy to decide my style, incorporate Kevin's style, and to have a flow throughout the house as I had once believed. I am a lover of white and gray neutrals, Kevin's more into bronze and old world, yet we both share a desire for a modern look. Half the battle is shifting through the mounds of information and ideas to produce a product that we both love, is high quality, and makes sense. I never thought a man could have so much input in home design, little did I know, and much did I learn. :)
So to start, might as well start at the beginning:
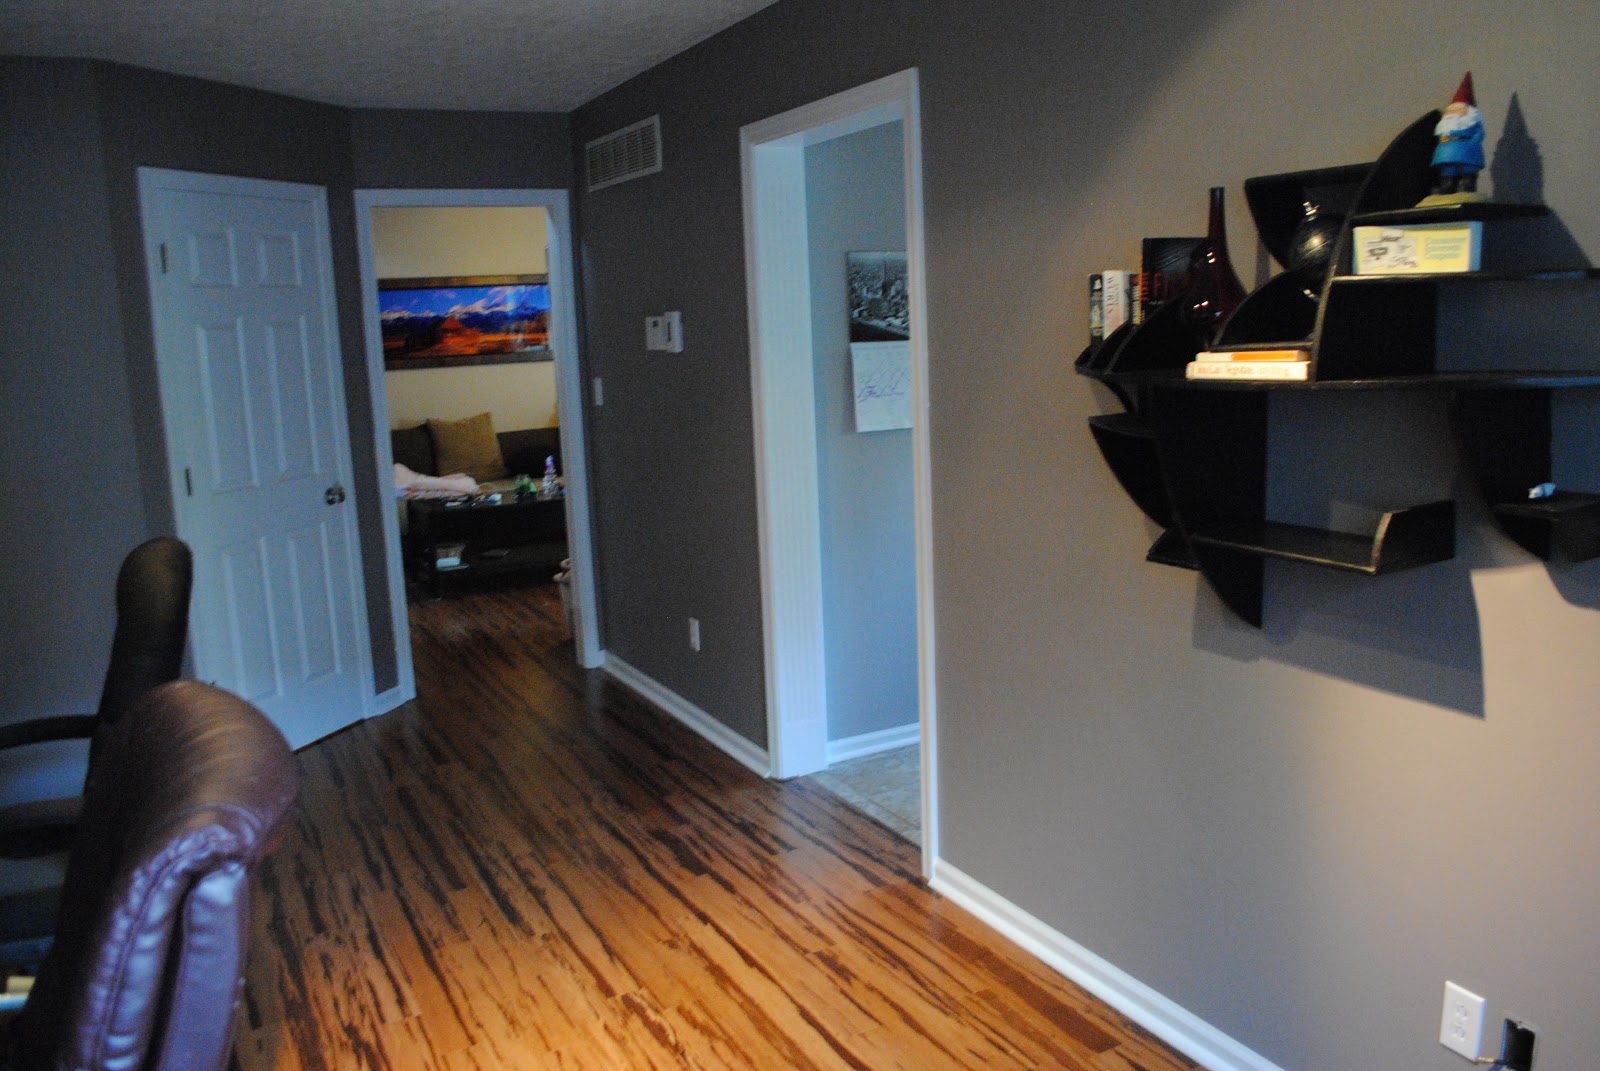
As soon as I moved in back in August 2011 I started painting. Kevin despises painting, so I have literally painted EVERY room in this house myself, with some help from a few choice family and friends. I have a few rooms left to paint and some detail work in specific rooms (which I fear I may always have). The previous owners tried to touch up molding in most of the main living areas with the wrong color paint, which resulted in spotty molding and doors throughout the entire house that were multiple colors. (Yes, they let their kids paint the backs of doors and the molding in the bedrooms, dark purple and blue no less). So in every room I have had to paint the walls AND the molding. It was my choice to go with a white molding throughout the house, because I like the sharpness of the look and it is fairly in-style (right now). It has been a lot of work and I now have a slight hatred of painting which is a bit sad. I will go into details of each different challenge room by room, which is how I've decided to finish this renovation so we can start living a bit more happily.
Home renovation IS stressful, on your body, on your relationship, and on your mind.
Beyond painting we have replaced around 1400sqft of flooring thus far. We started around September/October of 2011 and we are still not completely finished with the cork in the basement (we have about 6sqft left) but, we had finished the tile (200sqft), the bamboo (500sqft), and all of the rest of the cork (700sqft) by January 1st of this year. We have done all of the installation ourselves, including the replacement of sub-floor in a room. We have also "completed" one room thus far, the dining room, or as we like to refer to it now, the "Command Center." I will upload pictures and go into details about that room in my next post.
Right now, we have just started to try and finish the kitchen. It seemed like an important room to try and finish because I am sick of having to eat out every time we attempt a project in there. There are only so many microwavable dinners you want to eat (our microwave is actually on the couch right now). So update on that later on this week. I still have to figure out how to actually use this blog thing.
I am here looking for input and advice, willing to share experience and offer any help I can for other home renovators.
Subscribe to:
Posts (Atom)